Canning Butter, An Easy & Thrifty Food Storage & Disaster Preparedness Idea
Canned butter? Many people don’t believe anything dairy based can be stored safely, for long periods of time, but they’re wrong. Preserving butter dates back for ages, no one is really sure how long. Modern canned butter probably has its roots in the late colonial / early frontier period. During the Alaskan Gold Rush in particular, new methods allowed the highly prized “sunshine in a jar” to reach far flung miners and settlers.
The process is simple enough and it can be a value technique to add your your emergency food supplies. Once properly jarred, canned butter can last in cool, dry pantries, roots cellars, basements and even apartment closets for YEARS. A thrifty alternative to commercially canned butter or special butter ration packs.
The Butter
You can use any butter, but like anything you can preserve, this is a great opportunity to save money by selecting brands that are on sale. Lower quality butter stores just as well as pricier brands, but will require a little more work to prevent it from settling out. try to make each jar or batch all from the same brand to avoid quality control issues and problems with miscibility.
The Equipment
Unlike, some other forms of canning and preserves, canning butter requires no specialized equipment.
- Kitchen Oven (the more even the heat the better)
- Sealable, heat resistant jars (1 pint canning jars work great)
- Heat resistant spatula
The Process
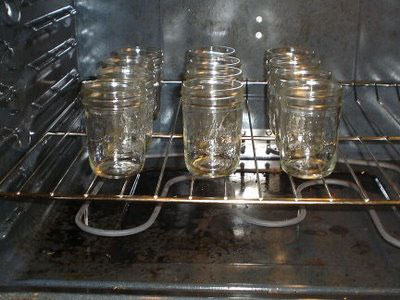
Heat one pint jars in the oven for 20 minutes without rings or seals. One pound of butter slightly more than fills one pint jar, so if you melt 11 pounds of butter, heat 12 pint jars. A roasting pan works well for holding the pint jars while in the oven.
 |
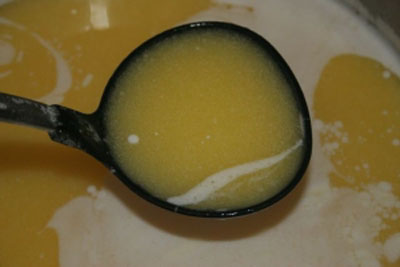
While the jars are heating, melt butter slowly in large, clean pot until it comes to a slow boil. Do not allow the butter to scald or froth! Using a large spatula, stir the bottom of the pot often to keep the butter from scorching.
 |
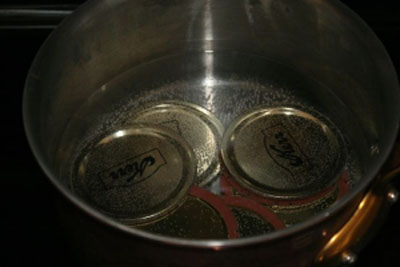
Once melted, reduce heat and simmer for 5 minutes at least: a good simmer time will lessen the amount of shaking required. Place the lids in a small pot and bring to a boil, leaving the lids in simmering water until needed.
 |
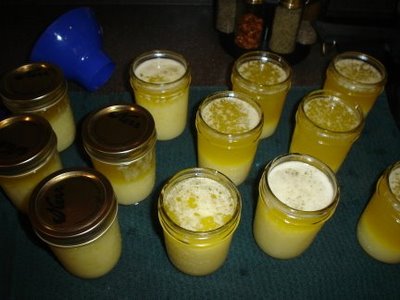
Stirring the melted butter from the bottom to the top with a soup ladle or small pot with a handle, pour the melted butter carefully into heated jars through a canning jar funnel. Leave 3/4″ of head space in the jar, which allows room for the shaking process.
Carefully wipe off the top of the jars, then get a hot lid from the simmering water, add the lid and ring and tighten securely. Lids will seal as they cool. Once a few lids “ping,” shake while the jars are still warm, but cool enough to handle easily, because the butter will separate and become foamy on top and white on the bottom. In a few minutes, shake again, and repeat until the butter retains the same consistency throughout the jar.
 |
At this point, while still slightly warm, put the jars into a refrigerator. While cooling and hardening, shake again, and the melted butter will then look like butter and become firm. This final shaking is very important! Check every 5 minutes and give the jars a little shake until they are hardened in the jar! Leave in the refrigerator for an hour.
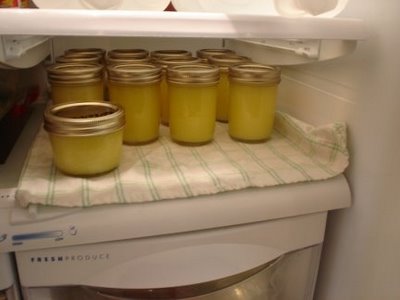 |
Canned butter should store for 3 years or longer on a cool, dark shelf. Canned butter does not “melt” again when opened, so it does not need to be refrigerated upon opening, provided it is used within a reasonable length of time.
Further Research
  |
Leave a Reply